Stray - Entry 7: The Tracker

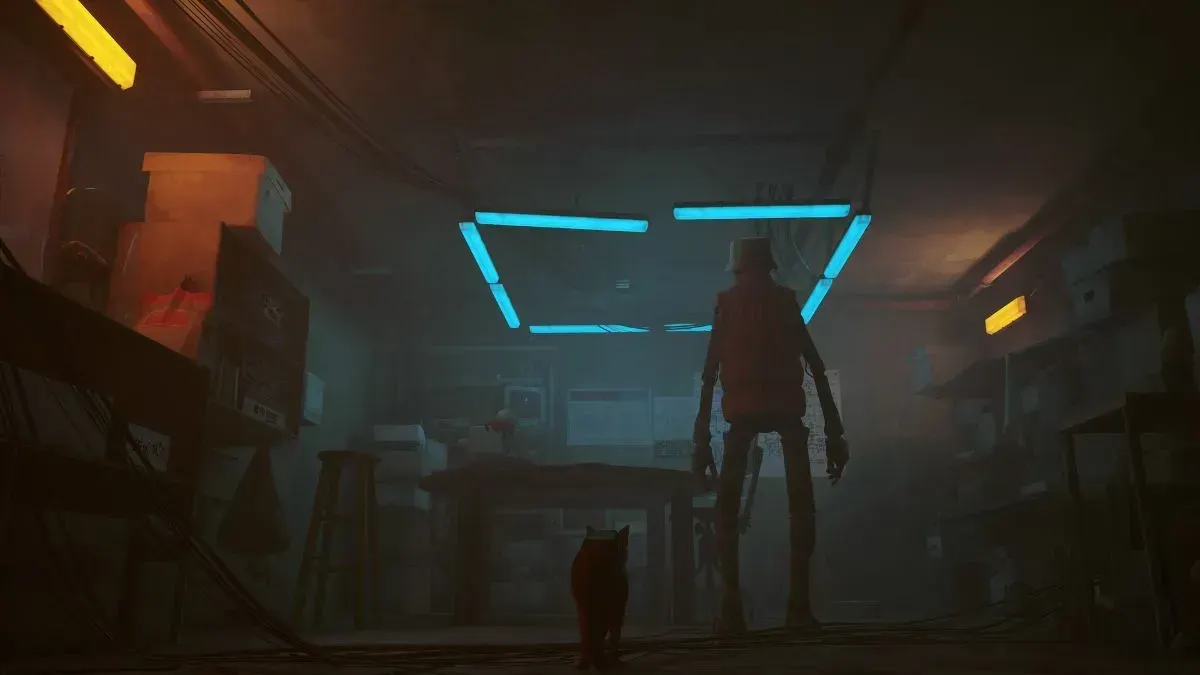
When I return to Momo’s apartment, the room is empty. On the television, we find a note explaining that he’s gone to the bar to use their antenna instead.
I climb back down through the maze of rafters and air-conditioning units, carefully picking my way toward street level. When I reach the bar, I spot Momo standing outside. He brightens when he sees me and cheerfully declares how relieved he is that I returned unharmed after installing the transceiver.
He ushers me inside and has me sit on a stool next to him while he works at a computer console near the bar, frantically trying to establish a connection with his friends. Suddenly, his posture stiffens—then he leans closer to the screen. To his shock and excitement, he manages to make contact with Zbaltzar.
The signal crackles and fades in and out, but it’s enough. Zbaltzar is alive. He made it to the upper levels. The news fills Momo with hope—until Zbaltzar mentions how he escaped: through the sewers. Before Momo can ask anything more, the signal cuts out. He slams both fists onto the desk in frustration.
From the bar, a surly robot wearing a red down vest turns toward us.
"You'll never get past the sewers. It is infested with Zurks. Many tried their luck in the past and it didn't end well. Anyway, your business is not my business."
The robot turns away and walks off.
Momo sighs and tells me not to listen to him, explaining that his name is Seamus—and that Doc is his father.
"He is just scared like I was. If Doc built a weapon that will be our ticket to join the Outsiders. Doc's notebook also mentioned a secret lab and that must be where he was working on it. There might be a clue in Seamus's apartment. Follow me."
I follow Momo through the narrow village alleys until we stop in front of what must be Seamus’s apartment, a door set at street level. Momo knocks repeatedly, calling out to Seamus and pleading with him to open up, insisting that his father would have wanted us to help.
When there’s no response, Momo turns to me, his posture stiffening as an idea comes to him. A few feet from the door, he pulls away a loose wall panel, revealing a narrow vent that leads into the apartment. He presses Doc’s notebook into my paws.
"Here. Take Doc's notebook and show it to Seamus. There is a lot of information in here that will hopefully act as an electroshock. Find the secret lab and weapon he has been working on. I am going back to the bar to try and reestablish connection with the others."
I slip into the vent and crawl through until I quietly enter into the apartment. Seamus is sitting alone on the couch in a modest, single-room flat.
When he notices me, he snaps upright.
"What are you doing here? I told you, getting through the sewers is a suicide mission. Leave me be.”
But when I present Doc’s notebook, his voice falters. His rigid posture softens as he flips through the pages, recognition and grief flickering across his facial screen. It’s clear how much he respected—and misses—his father. When he hears about the possibility of a secret lab hidden in the very apartment he’s been living in, his frustration gives way to urgency, and he asks me to help find it.
There isn’t much to search, but as I hop onto the kitchen counter, something about a framed picture on the wall draws my attention. I reach up and scratch at it until it slips free and crashes to the floor, revealing a hidden keypad behind it. Encouraged, I swipe at the other pictures, uncovering a message scrawled on the wall behind one of them. B-12 translates it for us:
Time Will Tell
Seamus stares at the wall in disbelief, admitting he’s never noticed the keypad—or the message—before, and wonders aloud if the note is a clue to the password.
That’s when I notice the four clocks mounted behind him, all frozen at different times, unchanged since we arrived. I pad over to the keypad and enter the four times displayed on the clocks. With a soft mechanical hum, a hidden door slides open in the wall.
Seamus stares into the newly revealed space, his voice filled with disbelief.
"I’ve never seen this room. I can’t believe he managed to hide it from me all this time!"
The room is bathed in the soft, bluish glow of aging monitors and desk lamps. The walls are dense with maps, notes, and intricate diagrams pinned and taped in overlapping layers. Along the perimeter sit stacks of boxes and glass jars containing Zurk specimens, preserved and carefully labeled. At the center stands a large worktable cluttered with tools, lenses, and partially dismantled devices, all arranged with deliberate care. This is not a place of chaos, but of relentless effort—every object here has a purpose.
As Seamus examines one of the diagrams on the wall, his voice grows quiet. "These blueprints. They must be for his Zurk weapon. Papa was always so secretive with his work. He told me the weapon was working in theory, but it needed a real-life test. He went Outside the Slums… and he never came back."
We continue searching the lab for anything else that might help. I leap across shelves and cabinets, knocking over boxes in my hunt. One of them spills open to reveal a damaged electronic device. B-12 helps me lift it so Seamus can see.
"Wait, I remember that. That’s his Tracker! Papa always used that Tracker to keep an eye on where I was. Maybe we can reverse it to find where he went! You need a weapon for the Zurks, right? My Papa definitely took one with him. We just need to repair the Tracker so we can find him. Someone in the Slums should be able to help. Show them the broken Tracker. I'll have a look in the lab to see if my dad left behind any clues."
As I leave the apartment, I immediately remember what Elliott told me after I brought him the poncho, so I head straight to his workshop. When we arrive, we show him the Tracker, and B-12 explains what we need. Without hesitation, Elliott gets to work, his hands moving with practiced confidence. Almost immediately, the device hums back to life.
We hurry back to Seamus with the repaired Tracker. He adjusts it carefully, watching the screen as it flickers—then locks onto a signal. His voice trembles with hope.
"I can't believe my Papa might still be alive. I've missed him so much. Follow me!"
Seamus leads us out of the apartment, holding the Tracker close as he follows the steady rhythm of its pings. The signal guides us through the village until we reach a heavy, sealed door set into the wall.
"Ok let's go, I don't want to keep the door open for too long. It's dangerous out there but I must be sure. I need to know. Let's do this."
He grips the rusted wheel and twists with effort, then shoves the door open. We step outside into a courtyard that feels impossibly alive compared to the city behind us. Damp stone is overtaken by creeping green plants, and a small tree grows defiantly from the cracked ground. But life here is tangled with decay—Zurk matter clings to the walls, and clusters of small egg sacs line the corners and shadows.
Seamus hesitates, scanning the courtyard before forcing himself forward. He crosses to a fenced gate, then stops, fear finally breaking through.
"Look at all these Zurk eggs! They will eat us. I can't do this. I'm not as fast as you. The Zurks will get me for sure. Here, take this badge. My Papa will recognize it. He will know that you're a friend. I'll open the door for you."
He unlocks the gate and ushers us through, then quickly shuts it behind us, sealing himself safely on the other side.