Zelda: Breath of the Wild - Entry 11: Spring of Power

Leaving Tarrey Town, I followed a lead from a traveler at East Akkala Stable, who mentioned a mysterious spring west of the stable. My search led me to a massive quarry, guarded by three menacing Guardian Skywatchers patrolling the skies.
Carefully, Phoenix and I ascended a cliff overlooking the quarry. Using the high ground to my advantage, I leapt into the air with my paraglider, positioning myself above the flying Guardians. With precise aim, I fired ancient arrows directly into their engines. One by one, the Guardians crashed to the ground in fiery explosions.
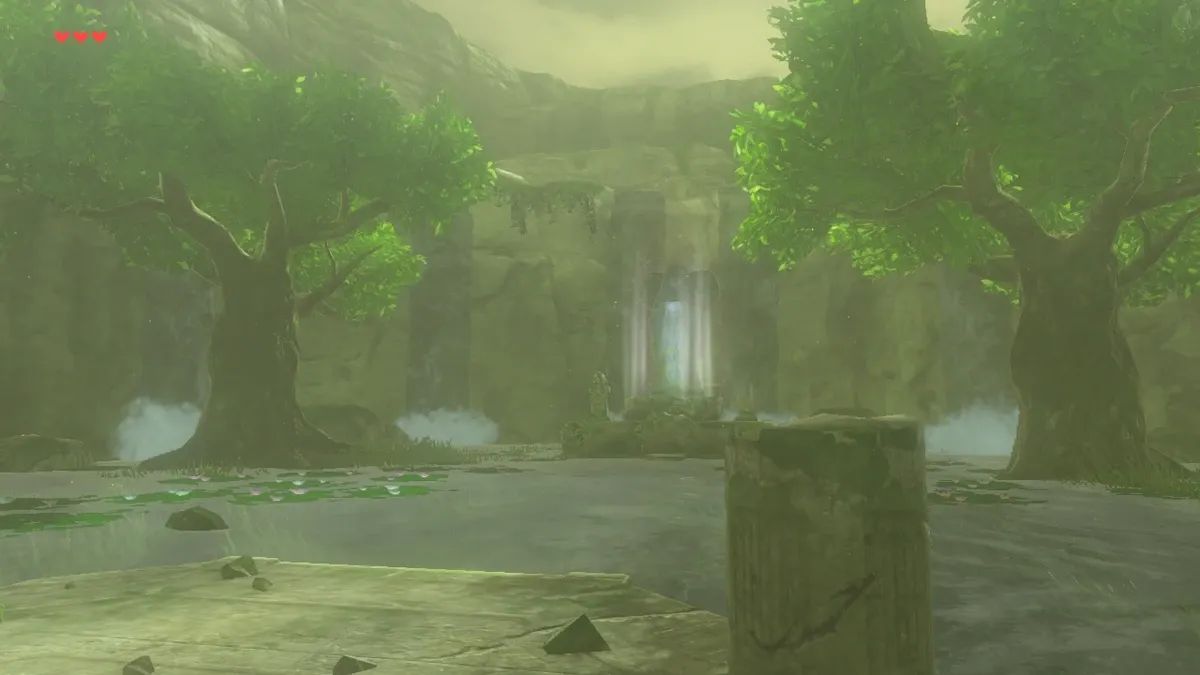
After gathering the valuable parts from the wreckage, I explored the quarry, eventually discovering a hidden doorway overgrown with thick leaves and branches. Drawing my flame sword, I burned through the obstacles, revealing a stone hallway that led me to the Spring of Power.
Like the Spring of Wisdom, the goddess statue there requested an offering: a scale from Dinraal, the red dragon spirit.
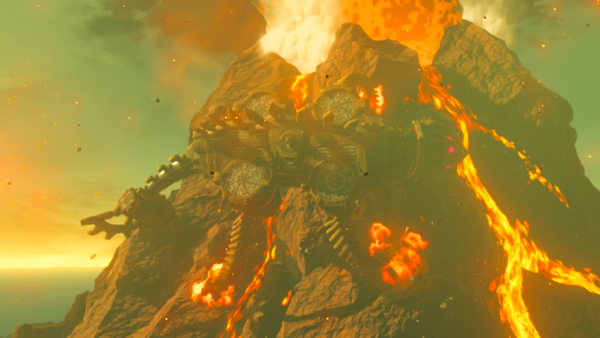
Determined to fulfill this task, I set out toward the region north of Eldin Volcano, where I believed I’d seen a red dragon soaring through the skies on a previous journey. Along the way, I faced and defeated a ferocious Lynel and several Hinoxes. Eventually, I arrived at Gut Check Rock, where I spent the night with my Goron brothers, sharing stories around the campfire.
The next morning, I left Phoenix behind due to the increasingly treacherous volcanic terrain, continuing on foot. My path led me to the awe-inspiring Eldin Great Skeleton, where I cleared out a nearby monster camp before making camp myself beneath the towering ribcage.
At dawn, I was greeted by an incredible sight—none other than Dinraal himself, soaring majestically across the sky. Overcome with awe at the dragon’s sheer beauty and power, I nearly forgot my mission. Shaking off the wonder, I quickly drew my bow, heart pounding, and took careful aim to capture a scale from the legendary spirit.
I decide to continue west, planning to loop around Eldin Volcano toward Woodland Stable. Along the way, I encounter two white-maned Lynels, each battle testing the limits of my combat skills. Their ferocity pushes me to utilize every tactic I’ve learned—perfect dodges, flurry rushes, and precise strikes—before finally emerging victorious, though not without exhaustion.
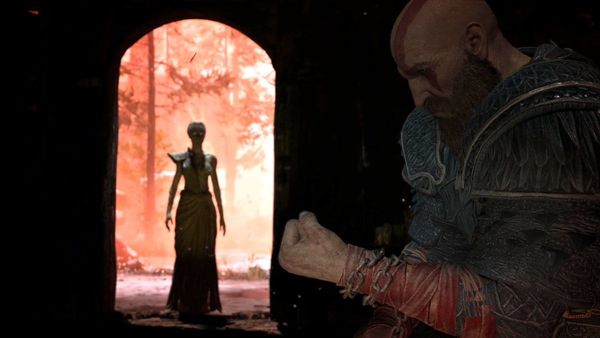
As I move past the volcanic region, I discover a broad, ancient path flanked by crumbling ruins, leading toward what appears to be a dense forest. However, as I approach, I realize it’s not an ordinary forest—it’s an area shrouded in an eerie, dark mist. A small bridge leads into the gloom, where I find a lone torch beside a small ruin shaped like a stone bird, its wings pointing into the darkness.
Drawn by curiosity that outweighs my fear, I light the torch and step into the oppressive darkness. It feels like being submerged in a cavern, with the torchlight as my only guide. I follow the direction the stone bird points, soon coming across another similar ruin. I light its nearby brazier, using the faint glow to navigate further.
This pattern continues—moving from one bird-shaped marker to the next, lighting torches to carve out pockets of light in the suffocating darkness. Eventually, I arrive at a shrine orb platform, its ancient carvings barely visible. The faint sounds of heavy, rumbling breaths alert me to the presence of a sleeping Hinox lurking nearby, its form not visible amongst the shadows.
Staying close to the outer walls, I quietly light every torch I can find, creating small beacons to illuminate my surroundings. When I feel prepared, I confront the Hinox, using fire arrows to keep it visible and disoriented. The battle is tense, with the darkness making it difficult to track the beast’s massive swings. But with patience and precision, I finally defeat the Hinox and claim the shrine orb.
Placing the orb on the platform triggers the shrine’s appearance. After completing the shrine’s trial and receiving its spirit blessing, I fast travel back to Akkala to reunite with Phoenix. From there, I head to the Spring of Power to present the Dinraal’s scale as an offering. As the scale touches the sacred waters, a hidden door behind the goddess statue creaks open, revealing another shrine.
After completing the shrine’s challenge, I make my way to South Akkala Stable, where I collapse into bed, completely drained from the grueling battles and relentless journey.
The next morning, I feel refreshed. I sell my collected spoils and spend some time exploring the Akkala Citadel Ruins, opportunistically taking down Skywatcher Guardians with my ancient arrows and gathering valuable parts for future upgrades.
Reinvigorated and ready for my next adventure, I decide it’s time to travel south to Faron, where the Spring of Courage is rumored to be hidden.